The 18650 battery has become the preferred choice for DIY enthusiasts and electronic device manufacturers due to its high energy density, long lifespan, and wide range of applications. Whether for power tools, electric bicycles, or home energy storage systems, 18650 batteries provide reliable power support. This article will provide a detailed guide on how to assemble an 18650 battery pack from scratch, including the necessary tools, step-by-step instructions, and safety precautions.
Basics of 18650 Batteries
1. What is an 18650 Battery?
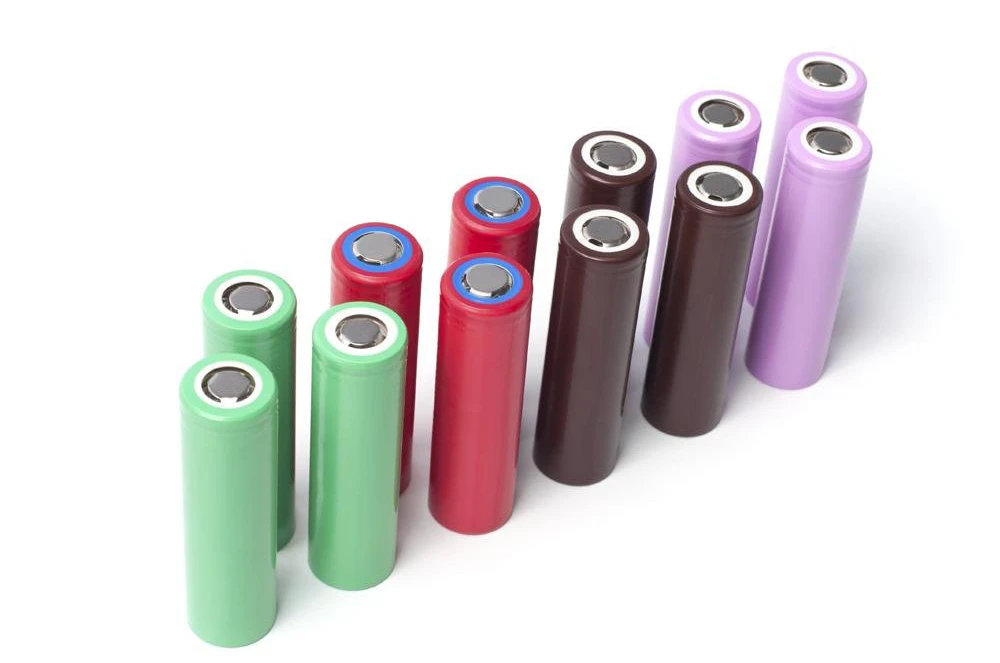
The 18650 battery is a cylindrical lithium-ion battery with a size of 18mm (diameter) × 65mm (length). It features high energy density, long cycle life, and stable discharge performance, making it widely used in laptops, power tools, and electric vehicles.
2. 18650 Battery Specifications
- Voltage: The nominal voltage of a single 18650 battery is 3.7V, and it reaches 4.2V when fully charged.
- Capacity: Common capacity ranges from 2000mAh to 3500mAh.
- Discharge Current: Depending on the battery type, the discharge current can vary from 5A to 30A.
3. Battery Types
- Standard 18650 Battery: Suitable for low-current applications such as flashlights or small electronic devices.
- High-Drain 18650 Battery: Designed for high-current applications such as power tools or electric bicycles.
Tools and Materials Required for DIY 18650 Battery Pack
1. Tools
- Spot Welder: Used to weld nickel strips onto the battery.
- Multimeter: Used to measure voltage and check connections.
- Insulating Tape: Provides insulation and protection for the battery.
- Heat Shrink Tubing: Wraps the battery pack for additional insulation and protection.
- Battery Holders: Keeps the batteries aligned and securely in place.
- Scissors or Wire Strippers: Used to cut nickel strips and wires.
2. Materials
- 18650 Batteries: Choose the appropriate capacity and discharge current based on your needs.
- Nickel Strips: Used for connecting batteries; recommended thickness is 0.15mm-0.2mm pure nickel strips.
- Battery Management System (BMS): Monitors battery status and prevents overcharging, over-discharging, and short circuits.
- Wires: Used to connect the battery pack to external devices.
- Insulating Pads: Used to isolate battery terminals and prevent short circuits.
Step-by-Step Assembly Guide
Step 1: Planning Your Battery Pack Design
- Determine the required voltage and capacity:
- Voltage is determined by the number of cells connected in series (e.g., 4 cells in series = 14.8V nominal, 16.8V max).
- Capacity is determined by the number of parallel connections (e.g., 3 cells in parallel = 3 times the capacity of a single cell).
- Sketch a wiring diagram for proper series and parallel configurations.
Step 2: Checking and Matching the Cells
- Measure the voltage of each 18650 cell with a multimeter.
- Ensure all cells have similar voltage levels (preferably within 0.05V difference) to prevent imbalance.
- If using salvaged cells, test their capacity using a battery tester before assembling.
Step 3: Spot Welding the Battery Pack
- Arrange the cells in the planned configuration on a non-conductive surface.
- Use nickel strips to connect the cells in series and parallel as per your design.
- Spot weld the nickel strips onto the battery terminals.
- Avoid excessive heat, as high temperatures can damage lithium-ion cells.
Step 4: Installing the Battery Management System (BMS)
- Connect the BMS according to the manufacturer’s wiring diagram.
- Ensure the BMS is compatible with your battery pack’s voltage and current requirements.
- The BMS protects against overcharging, over-discharging, and short circuits.
Step 5: Insulating and Securing the Battery Pack
- Use fish paper or Kapton tape to insulate exposed nickel strips.
- Wrap the battery pack with heat shrink wrap or place it in an enclosure for safety.
- Ensure that the pack is well-secured to prevent movement that could lead to connection failures.
Step 6: Charging and Testing
- Use a dedicated lithium-ion charger to charge the battery pack fully.
- Check for any abnormal heating during charging and discharging.
- Measure the output voltage to confirm proper assembly.
Safety Precautions
1. Prevent Short Circuits
- During welding and assembly, ensure that there is no direct contact between the battery's positive and negative terminals.
- Use insulated tools and materials to avoid metal tools touching both terminals simultaneously.
2. Control Welding Temperature
- Do not weld for too long to prevent high temperatures from damaging the internal structure of the battery.
- When using a spot welder, ensure that the welds are firm but not overheated.
3. Use a Battery Management System (BMS)
- The BMS is crucial for battery pack safety, preventing overcharging, over-discharging, and short circuits.
- Ensure that the BMS balance wires are connected correctly to prevent any single battery from overcharging or over-discharging.
4. Test the Battery Pack
- After assembly, use a multimeter to test the battery pack's voltage and check the connections.
- For the first charge, use a low-current charger and observe whether the battery pack exhibits abnormal heating or swelling.
DIY assembling an 18650 battery pack is both an interesting and practical skill that can provide reliable power for various electronic devices and projects. By following this guide, you can master the entire process, from planning and welding to installation and testing. However, since battery assembly involves high-energy components, it is essential to strictly adhere to safety protocols to ensure a safe and reliable operation.